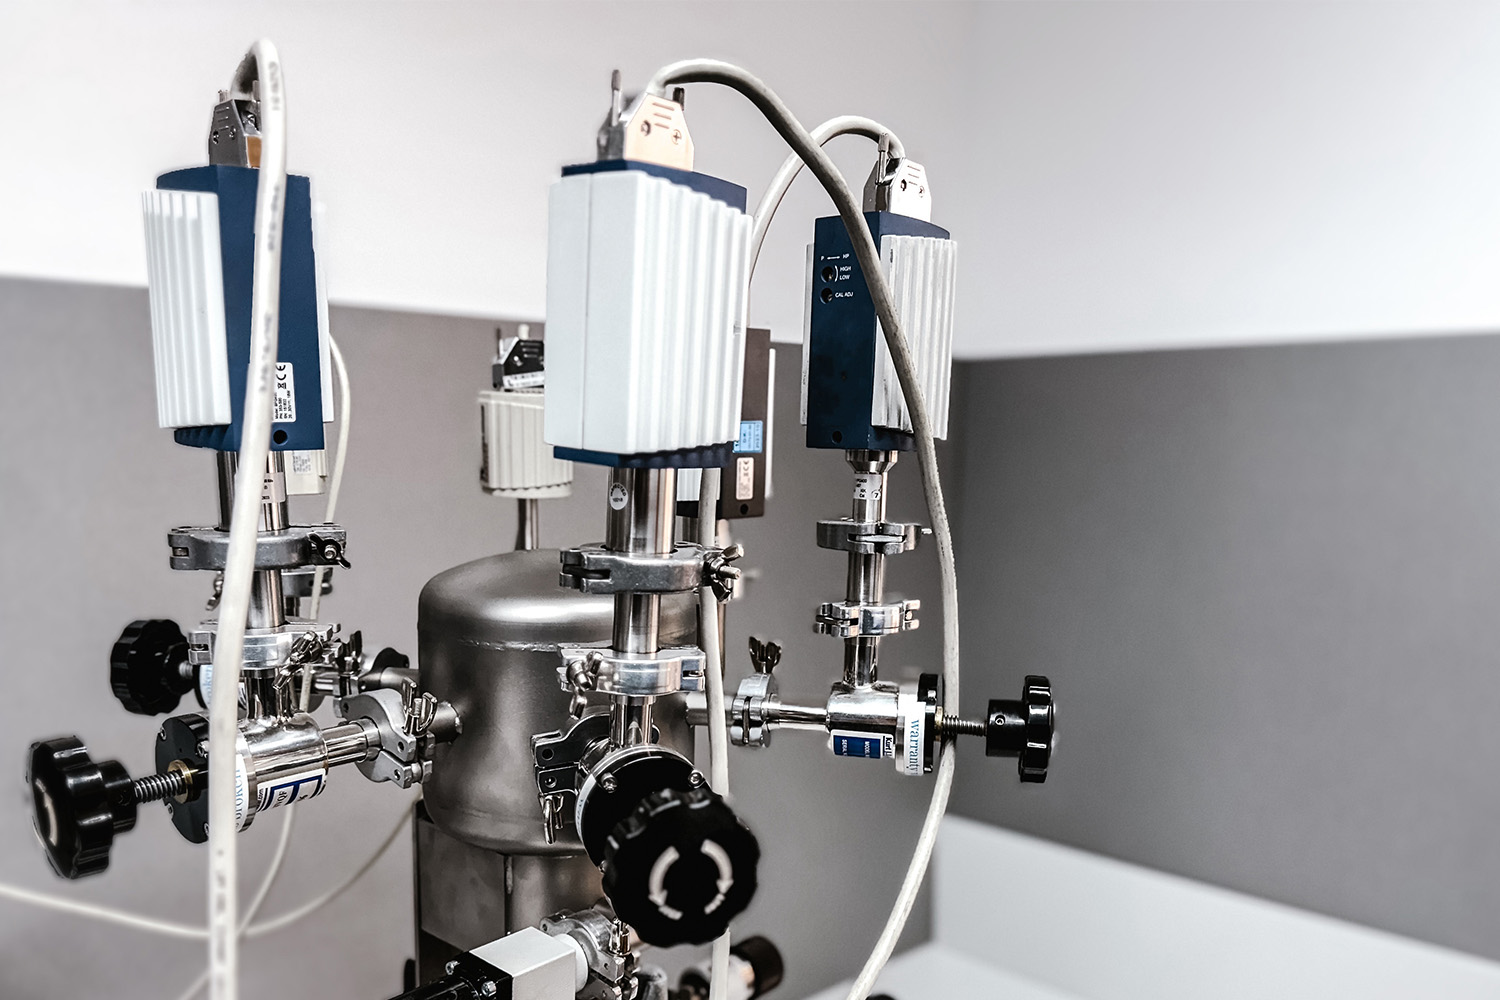
To ensure repeatable and accurate pressure measurement in vacuum technology, vacuum gauges must be correctly calibrated.
Most processes in vacuum production systems are controlled via the “pressure” parameter. This is determined electronically using various measuring methods. It should be noted that the process used itself changes the gauges (contamination, thermal load, etc...). As a result, the measurement deviation increases after some time and the vacuum system may no longer be operated optimally and efficiently. As a result, product quality suffers and failures occur.
We at Druschke GmbH offer manufacturer-independent calibration of vacuum gauges. To ensure traceability to national standards, calibration is carried out using calibration standards of the Physikalisch Technische Bundesanstalt or official accreditation bodies (DAkkS). In addition, Druschke GmbH offers on-site calibration of vacuum gauges to ensure that your devices are functioning correctly.
The factory calibration of your measuring systems carried out by us documents the existing deviation of your device. Our calibrations are carried out in accordance with the following standards
- ISO 19685:2017: Vacuum technology - Vacuum gauges - Specifications, calibration and measurement uncertainties for Pirani vacuum gauges
- DIN ISO 3567:2015: Vacuum gauges - Calibration of vacuum gauges by direct comparison with a reference standard
- ISO 27893:2011: Vacuum technology - Vacuum gauges - Determination of measurement uncertainty of calibration results by comparison with a reference standard
- DIN EN ISO 20486:2018: Non-destructive testing - Leak testing - Calibration of reference leaks for gases
- DKD-R-6-2 Part 2: Calibration of measuring equipment for vacuum
- Of course, the calibration includes cleaning and adjustment or zero-point adjustment of the calibration item.
FAQ on calibrating vacuum gauges
During calibration, the deviation of the measured value from the actual pressure value is determined and can be corrected by appropriate control measures.
The calibration measurement data is recorded and documented together with the calibration certificate. Traceability to national standards is possible using this documentation.
A calibrated measuring cell can be used to check other measuring cells.
During testing/adjustment, the entire display range of the measuring sensor is checked to ensure that the error is within the manufacturer's tolerance specifications and confirmed with a test mark.
Measuring cells in process systems are necessary in order to carry out a safe and reproducible, controlled process in a vacuum. However, constant operation in the process chamber also leads to increasing contamination of the measuring sensor, which in turn has a noticeable effect on the measured value. Depending on the process and the resulting contamination, the sensor can now indicate too little pressure or too much pressure, both of which are detrimental to production:
- Measuring sensor indicates too low a pressure: Process steps are started at pressures that may be too high, resulting in increased rejects.
- Measuring sensor indicates a pressure that is too high: Process steps start significantly later than would be possible, unnecessarily increasing process times. In the worst case, the entire process stops after a maximum waiting time has elapsed.
Not 100%, as the pressure value provided by a measuring cell cannot be set precisely even by calibration. The calibration determines the deviation of the measuring cell from the actual measured value, the display can then be corrected by a suitable control unit (settings in the display unit of the measuring cell).
Vacuum gauges at a glance
- Pirani gauge
- Cold cathode transmitter
- Pirani Transmitter
- Pirani/Bayard-Alpert transmitter
- Hot cathode transmitter
- Pirani/capacitive transmitter
- Capacitive transmitters
- Piezo transmitter
- Piezo-resistive transmitter
- THERMOVAC transmitters
- CERAVAC transmitter
- Penningvac transmitter
- IONIVAC-Combi-Transmitter

